|
The Zeltsman Approach to Traditional Classic Portraiture Chapter 14 Portrait Lighting - Part two In Chapter 13, I introduced, identified, explained and illustrated three Short Lighting Portrait Patterns as applied to individual subjects. Now, the topic of this chapter, is, Lighting of Multiple Subjects Clearly, the previous chapter was devoted entirely to the what , why, and how, of the three most effective portrait lighting patterns, and how to manipulate the key lighting to achieve these patterns on the faces of individual subjects. But, when lighting multiple subjects in groups of two or more, it is not possible to relate the same pattern to both faces.
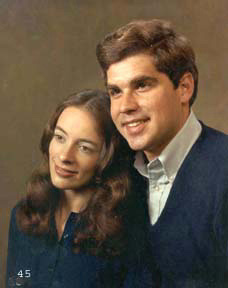
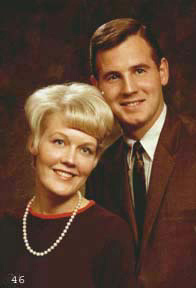
An occasional exception is when heads are facing the same direction, as in photo-45, and the faces are then lighted effectively with Short Lighting, to illustrate the exception Photo-46 however, is lighted by front lighting, that is a logical way to light groups, and the Key Light is therefore positioned on either side of the camera, raised up high enough to achieve modeling. So far, I concentrated entirely on the Main, or Key light, with no mention of supporting lights, except for a brief reference to my fill lighting installation. Now I ask you to please study these 14 photos, and note the following: The people do not appear pasted to the background. There seems to be space behind them. A background light unit provides that glow on the background. Look at all the people’s hair. All lighted. Two hair light units provide that lighting. But most important, look at the overall three dimensional detail in the figures, certainly not the result of front (key) lighting. This three dimensional effect and detail has nothing to do with the key lighting, and is there even before any lights are switched on. I remind you now: My bounce light installation fills my entire posing area, from wall to wall, with absolutely shadow-less lighting, that fully surrounds whatever subject I pose anywhere in the posing area. (See details in Chapter 12) Key lighting of proper highlight intensity then provides the modeling.
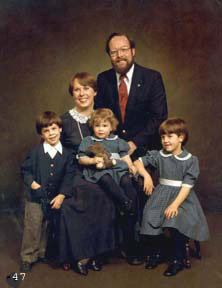
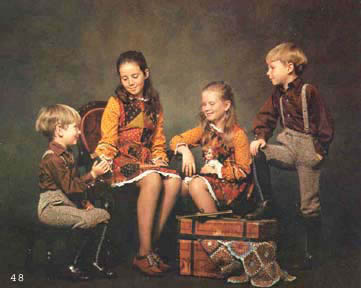
Although the faces in photo-47 are all directed toward the camera, while the faces in photo-48 are not, the Key Lighting of both groups is exactly the same.
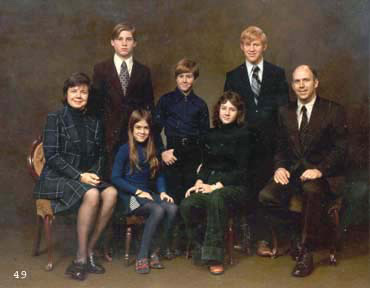
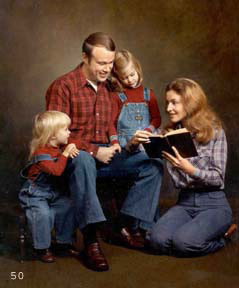
Obviously the distance between the Key Light and the group may differ, depending on the size of the group. Because I worked with a stationary fill light, without varying exposures, the power of the key lighting needed adjusting to compensate for varying its distance from the group. That was not a problem. For example, photos-49 and 50 were lighted with the key light positioned at the same distance. Actually, only two distances of the key light were used in the majority of these examples, and only one longer distance was needed occasionally for larger groups of 12 or more people.
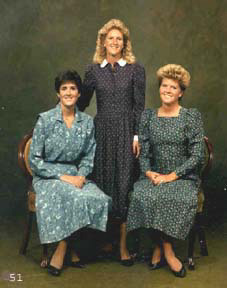
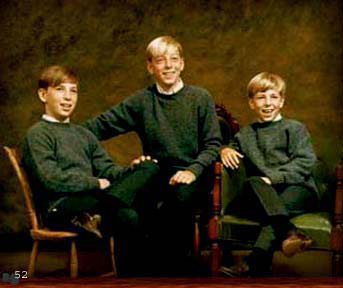
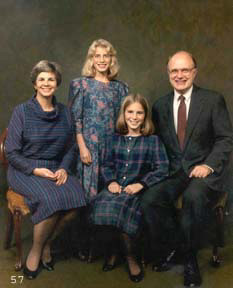
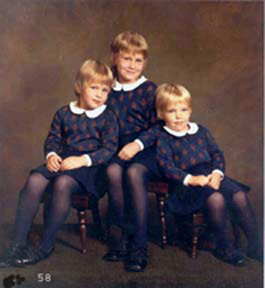
Aside from the lighting, these two images offer a study of two different approaches to posing three people. Mother and two daughters in a formal full length classic pose. The three brothers in a natural relaxed portrayal.
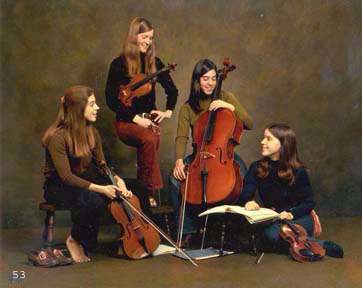
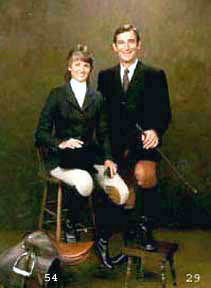
Key Light positioned the same distance from the subjects in both photos. Interesting to note the difference of statement made by these two images. The Quartet ignores you, the viewer, and they are only in contact with each other. The Couple in riding gear, is communicating directly with you, the viewer.
Viewing all these images, have you become aware yet, that everyone, men, women, and children, are all posed in either, what I call a Masculine or a Feminine composition? Chapters 4, 5, 6, 7, and 10)
And two more groups to review the elegance of those two posing compositions. Key lighting used to light these images, is a light in a 16 inch reflector, no diffusion, directed at the grouping at either 8 or 10 foot distance, depending on the size of the group, and raised to a necessary height to achieve modeling on the faces at that distance. (Power of the key light is stepped up to compensate for the longer distance for larger groups). |
Rehosted on:
